How to Dry Flowers and Preserve Your Memories
Published Dec. 23 2020, 3:36 p.m. ET
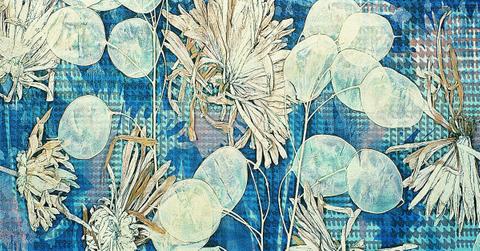
There are many reasons to dry flowers. Perhaps you want to save your prom corsage, wedding bouquet, or the centerpiece from your child’s Christening. You can use these dried flowers to decorate, add color to a commemorative shadowbox, or use them to scent your home with potpourri. Whatever the reason or the end results, learning how to dry flowers at home is actually fairly simple. There are a number of effective methods to do this, and we've laid them out step by step to help you preserve your memories.
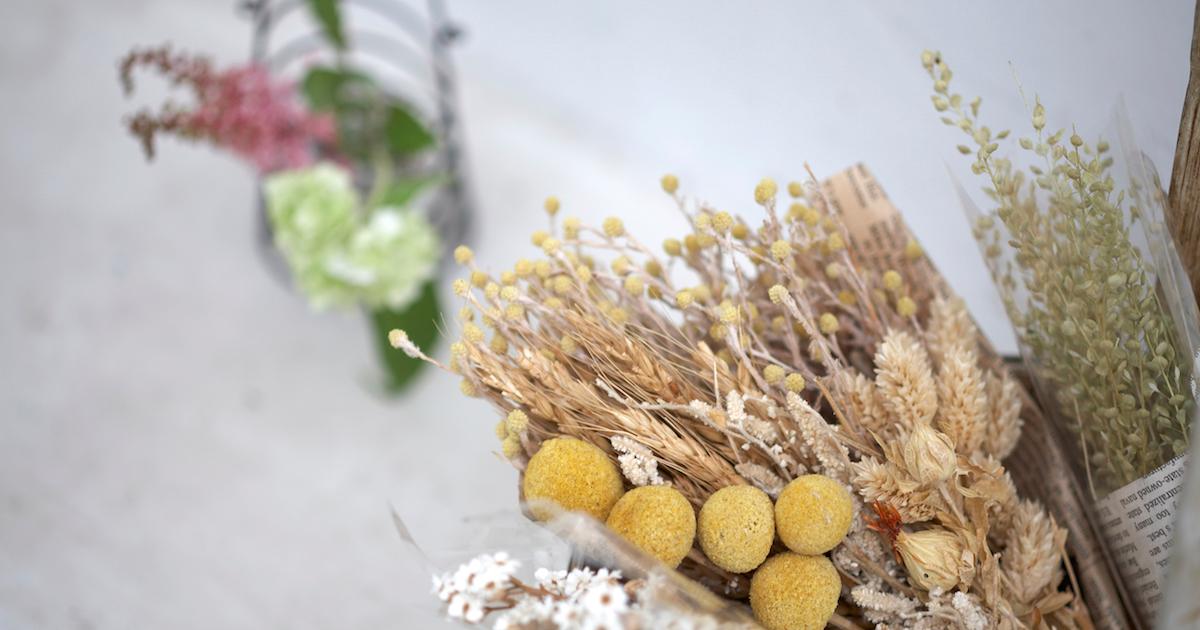
How to dry flowers?
Before you can even begin to dry your flowers, you'll first have to consider if those flowers will dry well. There are a number of great ways to stave off decomposition that involve adding hairspray or sealants, but no matter your method, it all starts with knowing which flowers work best. Not all flowers react the same way to drying. This is because certain flowers stand the test of time while others just flake to bits when given enough time.
According to HGTV, flowers that are good for drying include: eucalyptus, hydrangea, baby’s breath, dragon’s breath, globe thistles, globe amaranth, lavender, and pansiolas. More delicate flowers might not be as suitable for drying, but as long as you’re careful, you should be able to use these methods on most blooms.
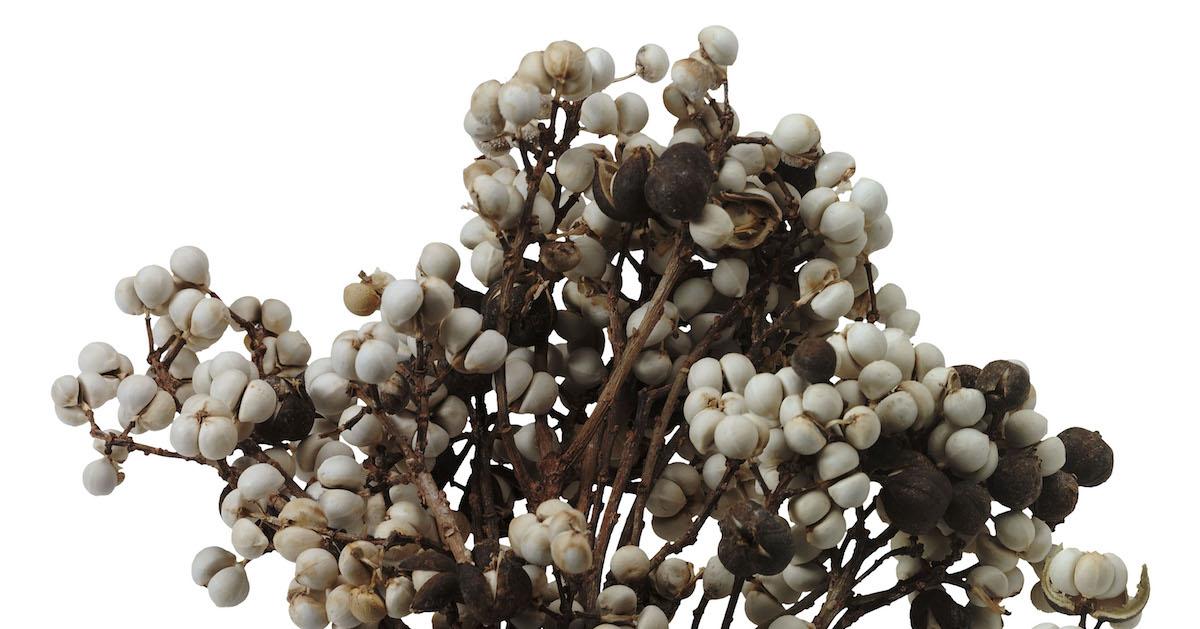
What is the best method for drying flowers?
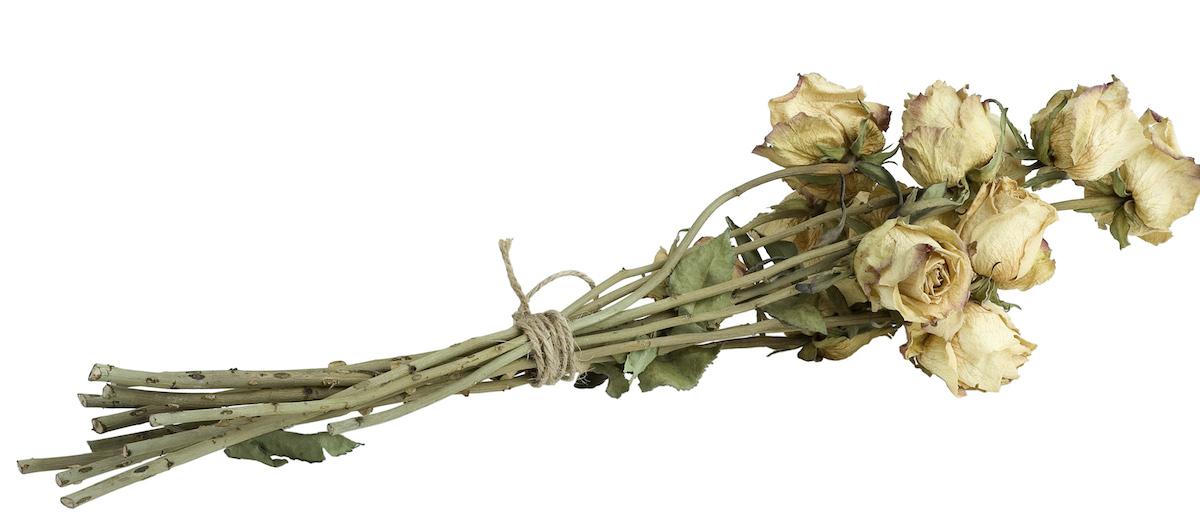
There are several drying methods proven to create beautiful and stable dried versions of their flowers. Air drying works best for bouquets and for robust flowers such as roses, or small, long-lasting varieties like lavender. (Keep reading for a step-by-step guide to air drying flowers.)
The second drying method involves the use of a microwave, and though it may seem somewhat crass, it's undoubtedly effective. In fact, the microwave technique is known to preserve the color and texture of flowers like gerbera daisies, chrysanthemums, roses, and tulips, even better than air drying. (We also have a tutorial on microwave drying flowers below.)
Pressing is also a tried and true method. It involves placing the desired blossoms in between a flower press, an iron, in a microwave, or most commonly, tucked within the pages of a book. Once you’ve put the flowers in the book, you simply let time do its work. This drying method works best for more delicate flowers like lilies, larkspur, or pansies.
No matter what method you choose, however, it should be noted that fully mature blooms will likely lose their petals in the drying process, no matter what. Thus, it's best not to wait too long to begin drying your flowers.
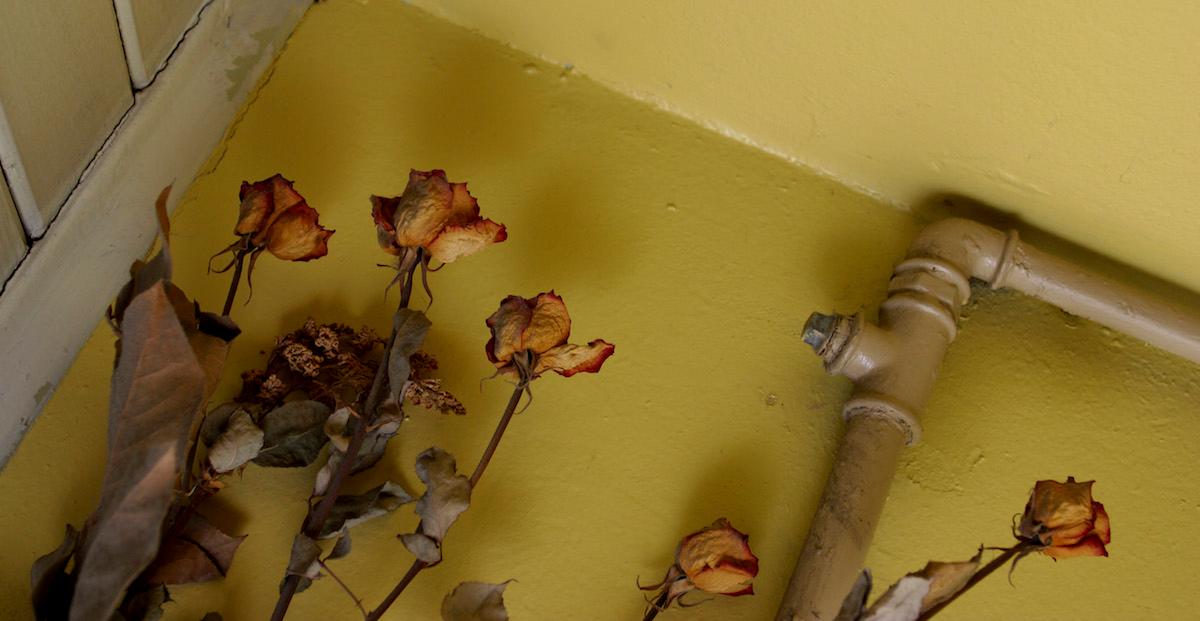
How to air-dry flowers
The first step in the air-drying process is to strip any excess foliage from the flowers and then cut the stems to the desired length. You can go with any length you like, but for air-drying, most experts agree you should go no shorter than 6 inches.
The drying process does strip color from flowers, but a good way to help them retain as much color as possible is proper placement prior to cutting. Make sure to remove the flowers from direct sunlight as soon as they’re cut.
Next, hang your flowers in a dark, dry area with good air circulation. An attic or unused closet works well for this purpose. You can either hang them individually or rubber-band stems together to create a hanging bouquet.
Secure the bunches or individual flowers to a hanger with unflavored dental floss and hang them upside down to dry. They should be allowed to dry for a good two or three weeks before you remove them. By that point, they should be completely dry.
Once they have dried completely, remove them from the hanger and spray flowers with unscented hairspray. This will protect your delicate blooms from age by creating a sort of waxy coating.
How to use the microwave to dry flowers
Microwaving flowers is much faster than air drying but it also requires the use of desiccants, specifically silica gel. This makes this method far more chemically complex, but well worth it. Silica gel can be found in most craft stores and helps preserve the shape and color of the flowers far better than hanging or pressing.
To use this method, you'll need a microwave-safe container to hold your flowers. Note that you should not use any container you plan on using for food in the future. Desiccants are toxic if ingested, and you don’t want to wind up using that same Tupperware for potato salad down the line by mistake.
Pour about an inch or two of silica gel into the bottom of the container until the whole bottom is covered. You might need a bit more if your blossoms are on the bigger side. Then, place your flowers blossom-up in the gel and gently pour more over them until they are covered. You want your flowers to hold their shape, so be careful not to flatten out the petals by pouring too much gel or pouring it too quickly.
Make sure the container is uncovered when you put it in the microwave. Now comes the tricky part: Understanding the exact time and temperature for each flower. This is going to involve some trial and error. Start by microwaving on one or two heat levels above defrost and start with intervals of 2-5 minutes. Open up the microwave and check your flower’s progress after the first run. If it needs more heat or time, increase both as needed.
Some flowers can withstand more than others. Roses, for example, are hearty flowers. Thus, they would likely be microwaved at a higher temperature than say, daisies, who prefer lower temperatures, according to FTD.com. Once the flowers are thoroughly dried, cover the container immediately. Then, remove it from the microwave, open the top a quarter of a centimeter, and allow to sit, undisturbed for the next 24 hours.
Once 24 hours have elapsed, you can open the containers and clean the gel from your flower petals with a very fine brush. Remember to be gentle, as your flowers have been through a lot. Remove the flowers and mist them with an acrylic spray. Unscented hairspray works here too, but acrylic spray is a bit more durable and available at the same craft store you probably got the silica gel.
How should I display my dried flowers?
Ultimately, that decision is up to you. If you already started the drying process, we’re willing to bet you’ve got some ideas on potential flower arrangements. Even if you’ve done everything you can to preserve their color, dried flowers will fade quickly in sunlight or extreme heat.
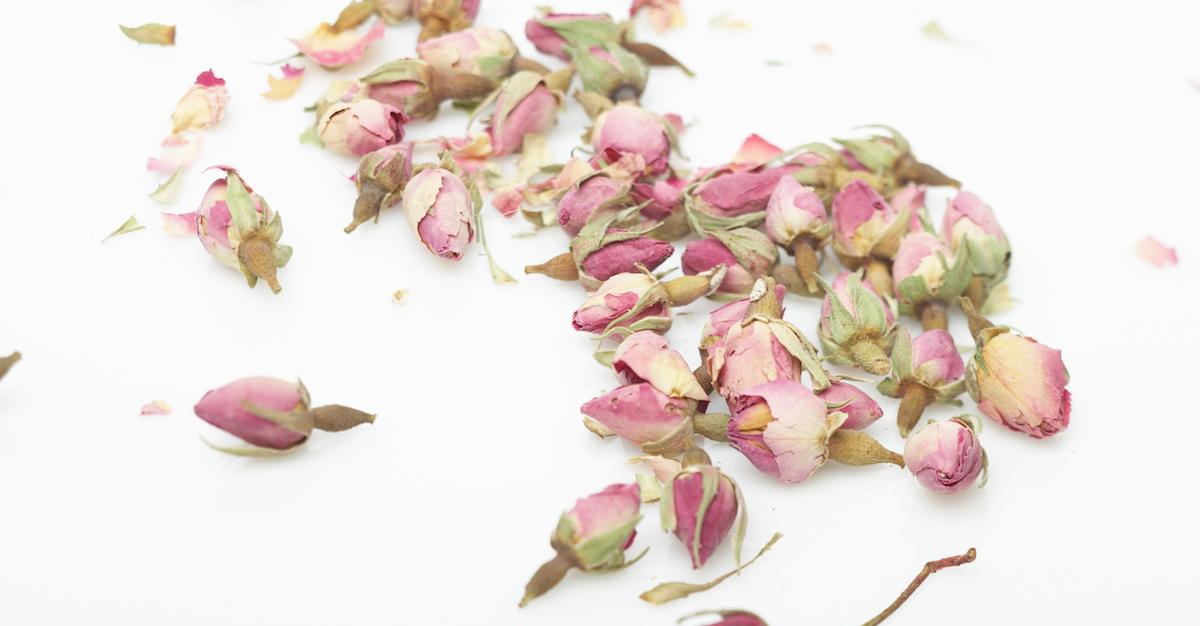
You’ll want to keep them in a cool place, preferably not in direct sunlight. You can display them in shadow boxes, small frames, in books or vases, you can string them up or add them to potpourri mixes. Your only limits are your imagination!