A Beginner's Guide for Safely and Efficiently Canning Your Own Vegetables
Updated Oct. 13 2020, 1:18 p.m. ET
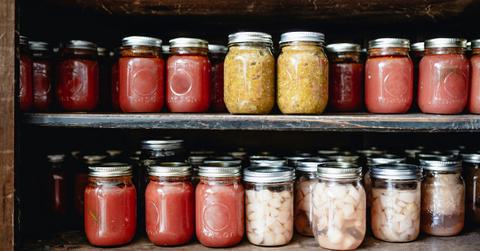
Like baking sourdough bread or starting an at-home compost, canning produce has become increasingly popular during the pandemic lockdowns. And although that may be because people are finding they have more time on their hands, doing it safely and effectively makes way for healthier and cheaper food options while cutting down on food waste, especially if you have a vegetable garden.
Although it may sound like a lengthy and difficult process, we've created a beginners guide to canning your own fruits and vegetables. Not only will you effectively preserve your homegrown or store-bought produce, but it's a fun way to pass the time in quarantine, and ultimately get a bigger bang for your buck from your beloved fruits and veggies.
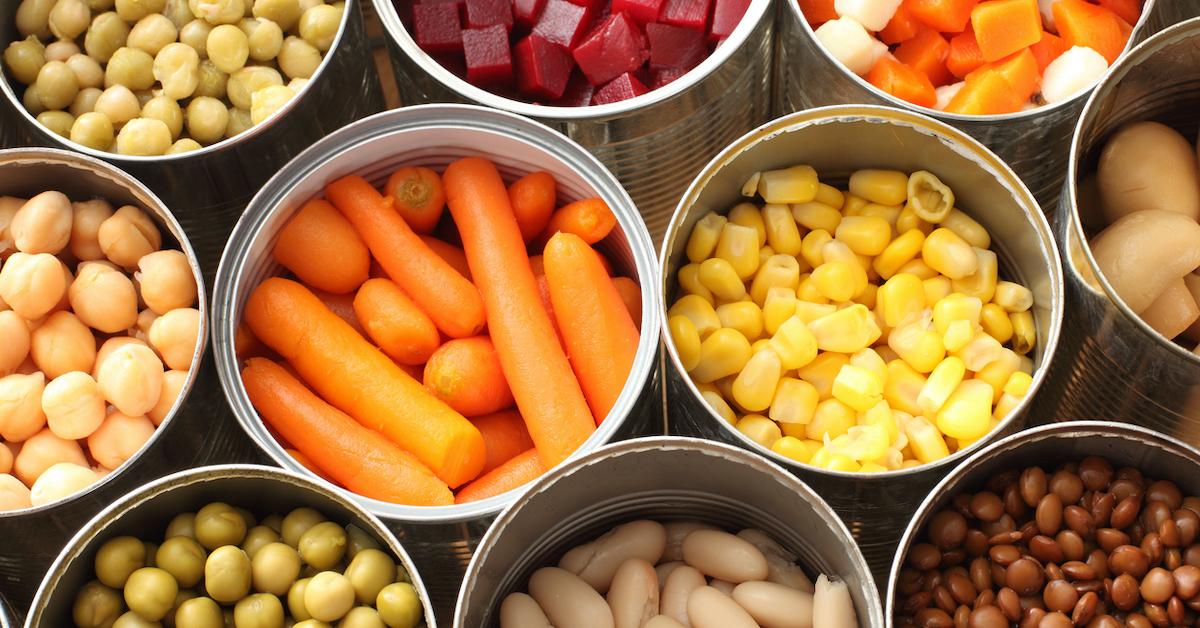
What do you need to can your own vegetables? The equipment is relatively inexpensive.
You most likely already have most of the required equipment to get started. In addition to having your produce of choice on hand, according to Rosy Blu Home, you'll need a large stock pot or a Dutch oven, a wooden spoon, a kitchen timer, mixing bowls, sharp knives, tongs, a slotted spoon, cheesecloth, a strainer, a ladle, oven mitts, and — of course — jars.
According to Delish, there is currently a shortage of mason jars and double ring mason jar lids at major retailers across the U.S., because canning has become increasingly popular. Two major brands, Ball and Kerr, have acknowledged the shortage, and are in the process of addressing it, but hopefully, you'll be able to find some at smaller stores.
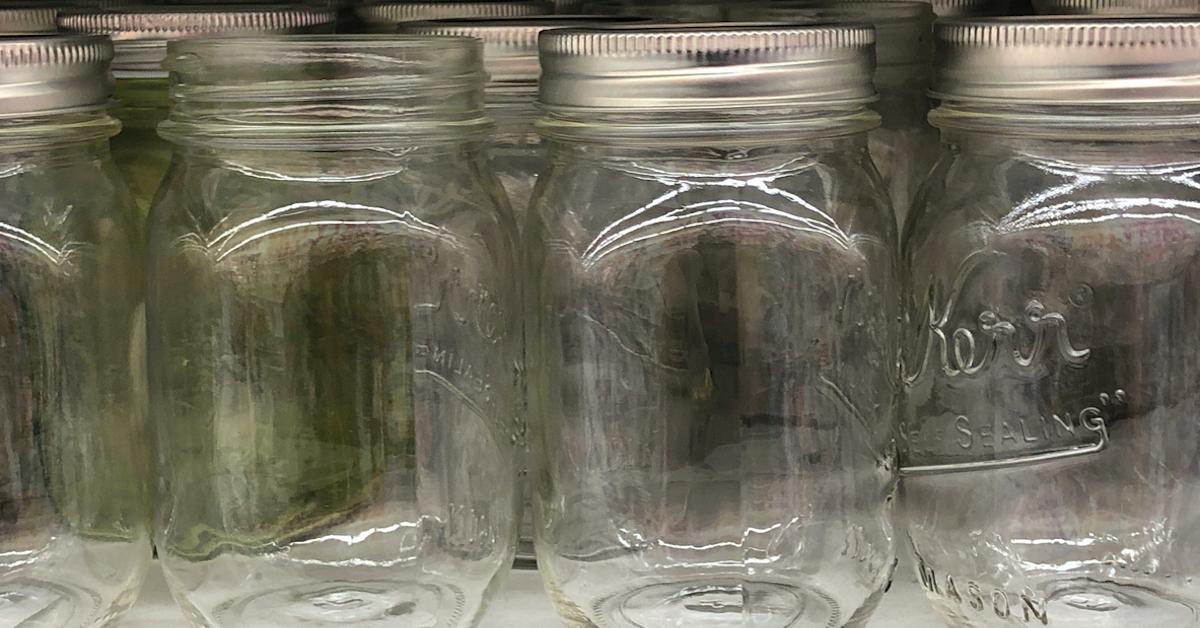
First, you'll want to sterilize your equipment.
Sterilizing your mason jars before using them is an absolutely vital step, as using un-sterilized jars can lead to a potentially deadly illness called botulism. To properly sterilize your jars, according to Great British Chefs, simply preheat the oven to 320°F, wash the jars in hot soapy water and rinse them, place them onto a baking tray and bake for 10 minutes, and soak the lids in boiling water.
If you're using rubber-sealed jars, make sure to remove the rubber parts before placing them in the oven, to avoid melting or burning them. Additionally, when adding your desired food to the jars after they undergo the sterilization process, make sure the food and jars are at the same temperature, so the jars don't crack.
Next, find a credible recipe, fill your jars, and cap them neatly.
After sterilizing your jars, find a verified and testing canning recipe that provides you with accurate measurements of produce, acid, salt, and water, as well as correct processing times to successfully fend off potentially harmful bacteria, according to Chow Hound. Simply Canning offers a variety of fun and easy canning recipes for beginners, to get started on their first batch of canned fruits and veggies.
Once you've followed a credible recipe, spread your clean mason jars and lids onto a clean kitchen towel, with all excess water poured out. Wipe the rim of the jar to remove any excess liquid or residue, and cap your jars with a self-sealing lid and a ring, to ensure the caps are extra tight.
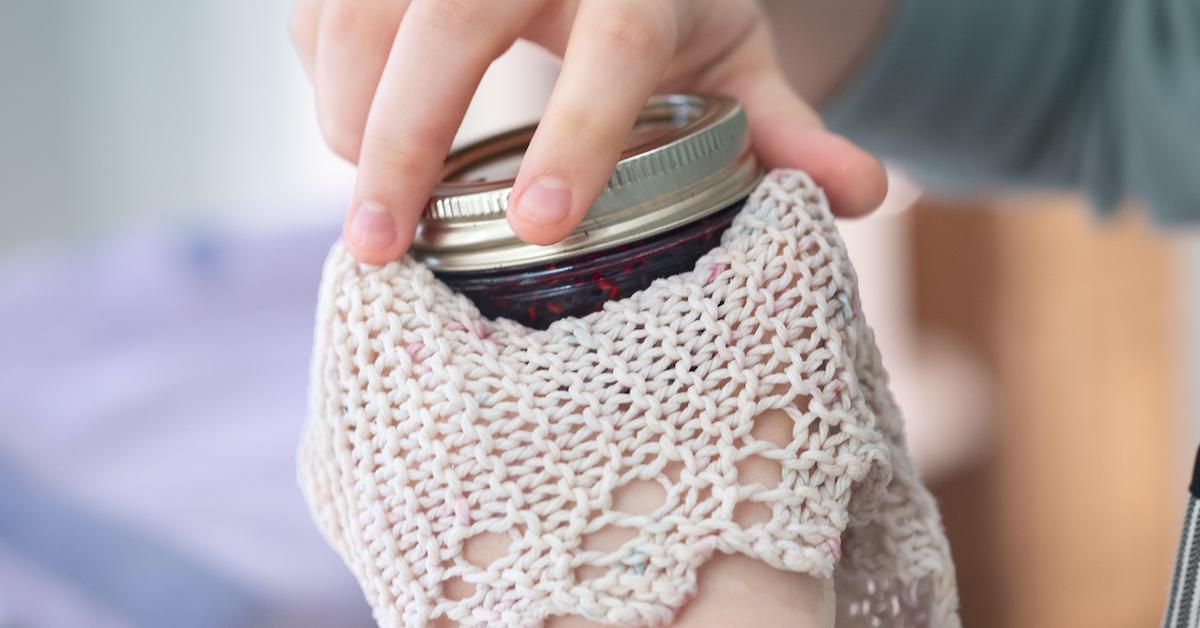
Processing times will vary, but they'll have you do the following:
To ensure your jars of fruits and veggies are properly stored, they will have to undergo special processing requirements. First, use jar lifters or rubber-lined tongs to place your jars in a bath of hot boiling water in your Dutch oven or stock pot. As we said previously, times will vary based on the recipe, as well as your altitude.
After following the processing instructions, remove your mason jars from the pot of boiling water, and place them on a kitchen towel to cool for several hours. The jars will eventually start popping, which means the lids have properly sealed. Then, you'll label the jars and store them in a cool, dry place.
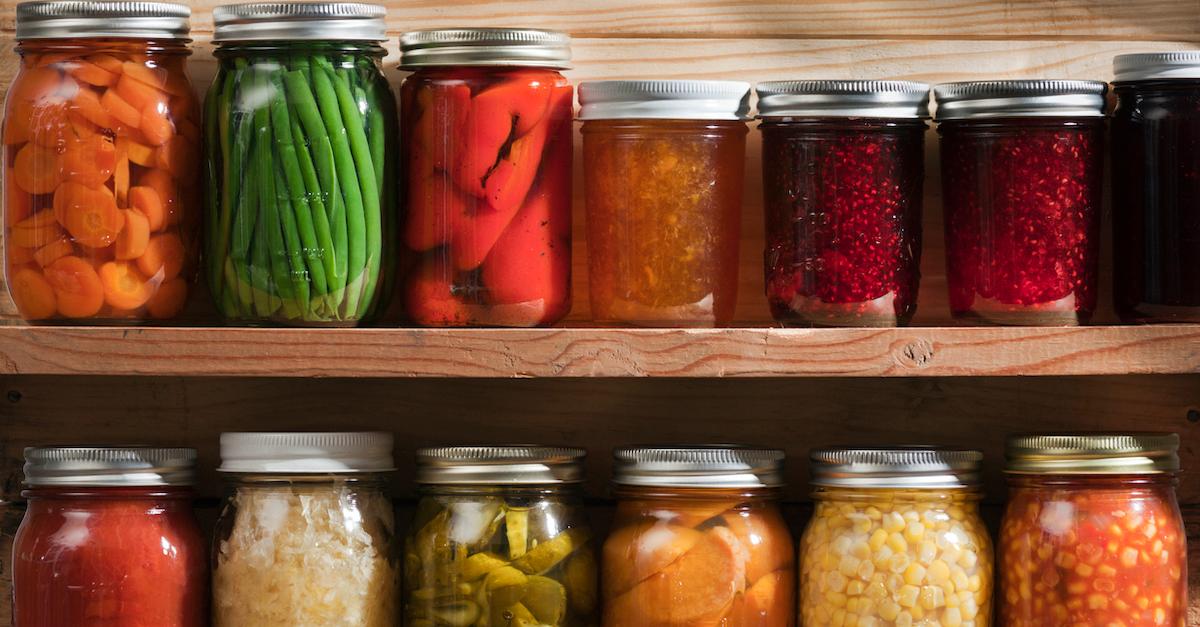
Canning vegetables can be a fun learning experience for produce enthusiasts, and doing so is certainly advantageous for those looking to eat healthy on a budget. That being said, however, following the sterilization and processing instructions is absolutely vital, to ensure you're doing so safely. Good luck, and happy canning!