A Beginner-Friendly Guide to Crochet: How to Start a Chain, Easy Projects to Try, and More
Published April 10 2023, 9:48 a.m. ET

If you’ve ever wondered what crochet is or been curious about it, you’ve come to the right place. Picking up a new hobby can be super exciting, but it can also be stressful — there’s just so much you don’t know!
Don’t worry, we’re here to help. Check out our guide to start learning the crocheting basics: how to hold the yarn, start a chain, fasten off, and more. Keep in mind this one is for absolute beginners, so if things are too easy, feel free to skip to the end for some project ideas.
What is crochet?

Sarah Maker, a crochet connoisseur of sorts, described crochet as the practice of creating fabric by using a hook to make loops of yarn. This needlework practice may sound confusing, but after watching a video or two, it will start to make more sense.
People crochet all sorts of things: Blankets, hats, scarves, skirts, stuffed animals, bags, home decor, and more. It’s pretty incredible the number of things you can make with basic yarn and a hook — and those are exactly what you will need to get started.
In addition to yarn and a few crochet hooks, it might be useful to have a tapestry needle, scissors, and a measuring tape. Most beginners acquire a mini crochet kit to start, which will probably provide you with these tools.
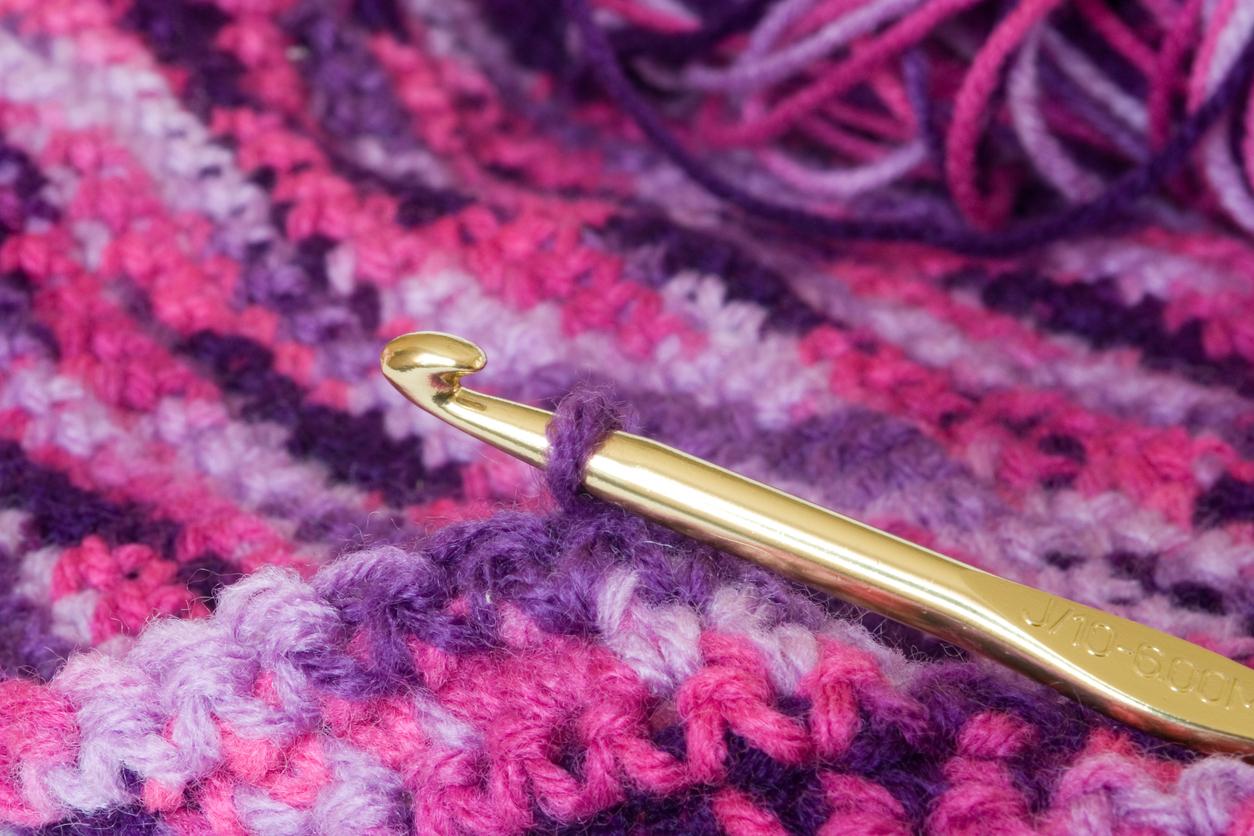
In a kit, it’s likely that you’ll see a variety of crochet hooks, all with different numbers labeled on them. These numbers refer to the hook sizes. To determine what hook size you’ll need, simply check the packaging that came with your yarn — if you found secondhand yarn, you can look up a size comparison on the internet to determine which hook to use.
For beginners, larger hooks tend to be the best to use. A larger hook is typically accompanied by bulkier yarn, which makes it much easier to see the stitches. Once you’ve got your yarn and hook, it’s time to start crocheting.
Let’s start with learning how to hold crochet yarn:
Learning how to hold the yarn can actually be quite complicated, especially if it’s not something that comes naturally to you. It can feel very uncomfortable or unnatural at first, but with a little bit of practice, you’ll get the hang of it.
There are three different ways to hold crochet yarn, so if one doesn’t work for you, simply try another. Establishing good tension is a very important part of crocheting — without it, your work might fall apart or look wonky.
Before grabbing your yarn, you first have to figure out how to hold your hook. You can go with the pencil grip or the knife grip — there’s no right or wrong choice here, all you have to do is choose the one that’s the most comfortable for you.
Now, on to holding the yarn. The first method is holding the yarn between your middle and pointer finger, and then squeezing them together to create tension.
The second method is when you wrap your pinky around the yarn and then take the rest of the yarn and wrap it around your pointer finger.
For the last method, you wrap the yarn around your pinky again, but this time, you weave the rest of the yarn in between your other fingers. If you’re a little bit lost, the above video tutorial from Sigoni Macaroni is very helpful.
Now it’s time to start a crochet chain!
To learn a few basic crochet stitches, head to Bella Coco’s YouTube channel — these tutorials work through the movements very slowly, making them super beginner-friendly. Let’s learn one of the most basic parts of crocheting: how to make a chain.
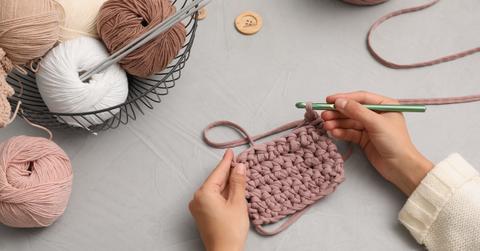
First, make a slip knot with your yarn and insert your hook. Now, using whatever hold you’ve decided on, grab your yarn and wrap it around the hook. After you’ve wrapped your yarn around the hook, bring your hook towards you and through the loop. This will create your first chain!
If you can’t get it the first time, don’t worry. A lot of people are completely unfamiliar with crochet when they are first starting, so it can be extremely confusing. Feel free to slow down or rewind the video in order to get the hang of it.
Once you’ve mastered chaining, you will be able to start learning other things, like how to single crochet. And that’s when the real fun begins!
How to fasten off crochet:
If you’re learning how to fasten off, congrats! That means you’ve completed a project and are ready to secure it in place.
First, you’re going to cut your yarn — make sure you leave a tail that’s at least 6 inches. Next, use your hook to draw the tail through the remaining loop. You can then remove the hook and tighten the tail by pulling on it.
To ensure that your work is even more secure, you can weave in your ends. This is what that tapestry needle is for! For this step, thread the needle with your yarn tail and weave it throughout your project.
Once you become more skilled at crocheting, you can try different types of finishes. In Bella Coco’s video, she shows an “invisible” finish. This is a slightly different method that makes your work look very nice. Learning this isn’t necessary, but it can be fun to try new things once you get the basics down.
For some inspo, check out these crochet patterns for beginners:

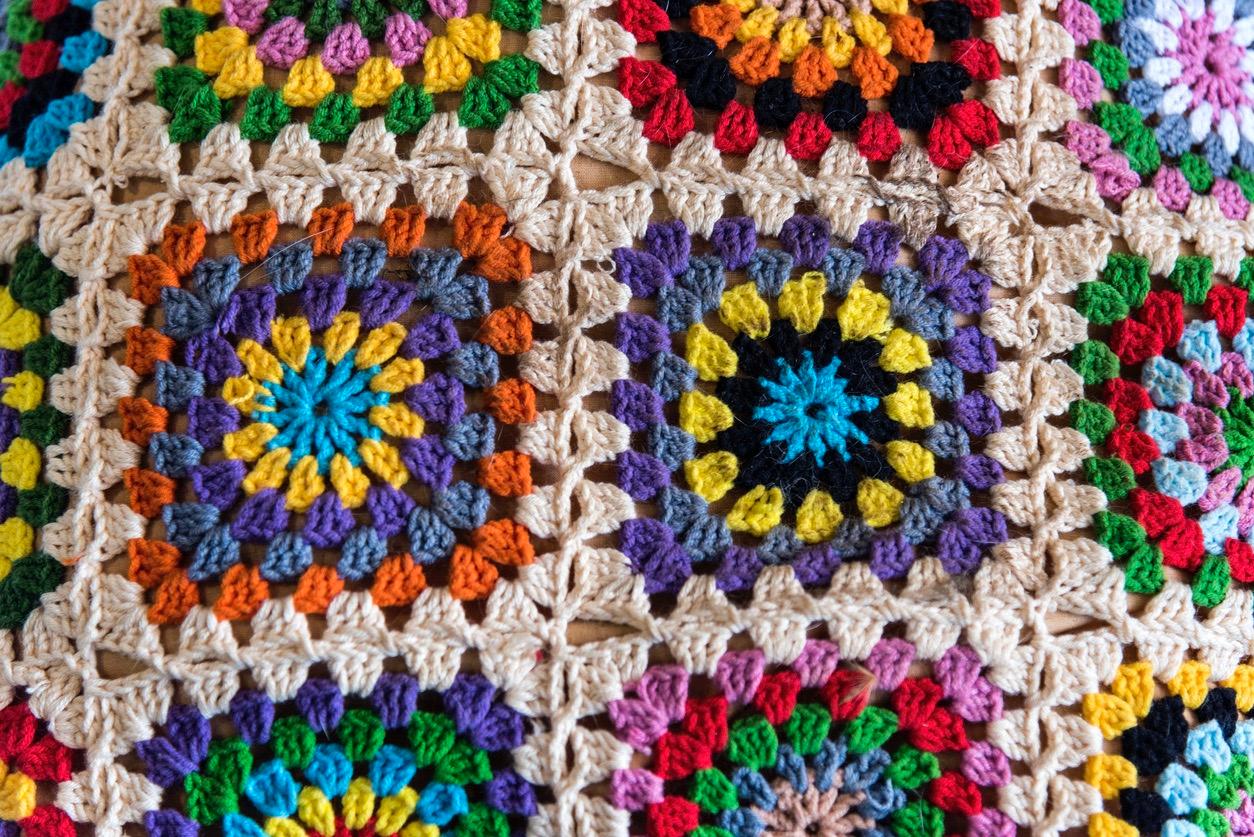
As a beginner, you will probably start out by making granny squares. In fact, this is basically a mandatory step for all crocheters. Granny squares are the foundation of many different projects, such as blankets, tote bags, cardigans, coasters, and more — once you’ve mastered them, you have the ability to make a variety of items.
For example, you could make this colorful blanket from Pattern Center. Or this easy blanket from Maria’s Blue Crayon. If you have enough blankets already, you could make this bucket hat, this super cute tote bag, or this very useful coaster. The possibilities are endless.
Don’t give up on your crochet journey, even if you find it challenging. Each time you accomplish something, you will feel really satisfied and all of that hard work will be worth it!