How to Sew for Beginners: Learn How to Mend Your Own Clothes With This Step-by-Step Guide
Learning how to sew might seem outdated, but it’s one of those life skills that can save you a lot of time and money.
Published July 11 2024, 4:51 p.m. ET

If you enjoy crocheting, knitting, or doing any other craft, learning how to sew might be worth a try. This timeless skill is perfect for those who like attempting different creative projects or mending and altering old clothes to give them a new life.
Sewing is a great way to lead a more sustainable lifestyle, too, as it will allow you to repair, alter, and upcycle garments. Check out our basic step-by-step guide on how to start sewing — for complete beginners — below.
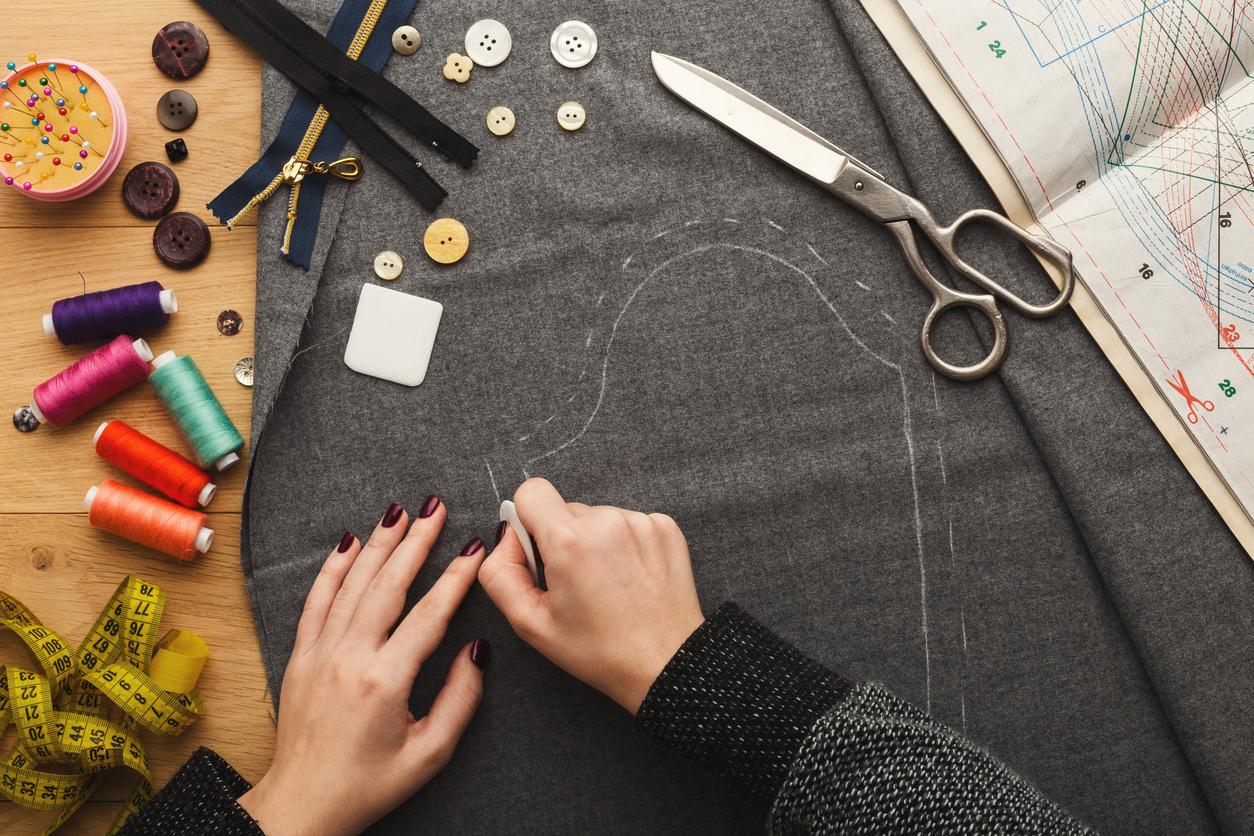
Step 1: Gather your sewing supplies.
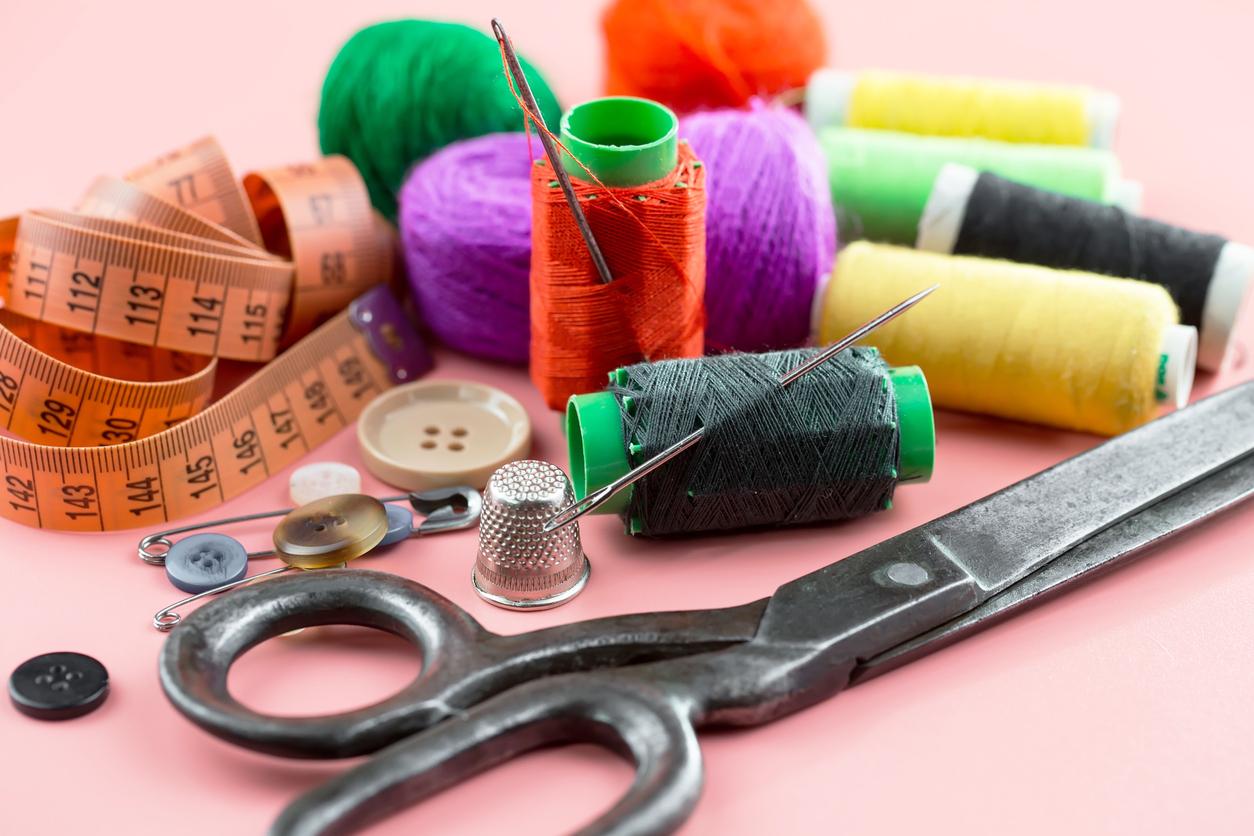
One of the best things about learning to sew by hand is that it’s inexpensive. You don’t need to purchase a bunch of supplies or a costly machine — all you need is a needle, some thread, and fabric, according to Beginner Sewing Projects.
These items are easy to find at craft stores and sometimes even supermarkets. If you don’t want to buy new, check your local thrift stores, online sewing groups, or Facebook Marketplace/Buy Nothing groups, as there’s almost always someone selling or giving away extra supplies.
You should choose a needle that’s sharp and durable. For the thread, it’s helpful to consider what weight and fiber will do the trick for your particular project. Remember: Buying the fanciest, most high-end items isn’t necessary, especially for beginners.
If you stick with it, it might be worth investing in a fabric tape measure, scissors, thimbles, needle minders, and sewing pins down the line. These tools could come in handy if you expand your sewing repertoire.
Step 2: Thread the needle.
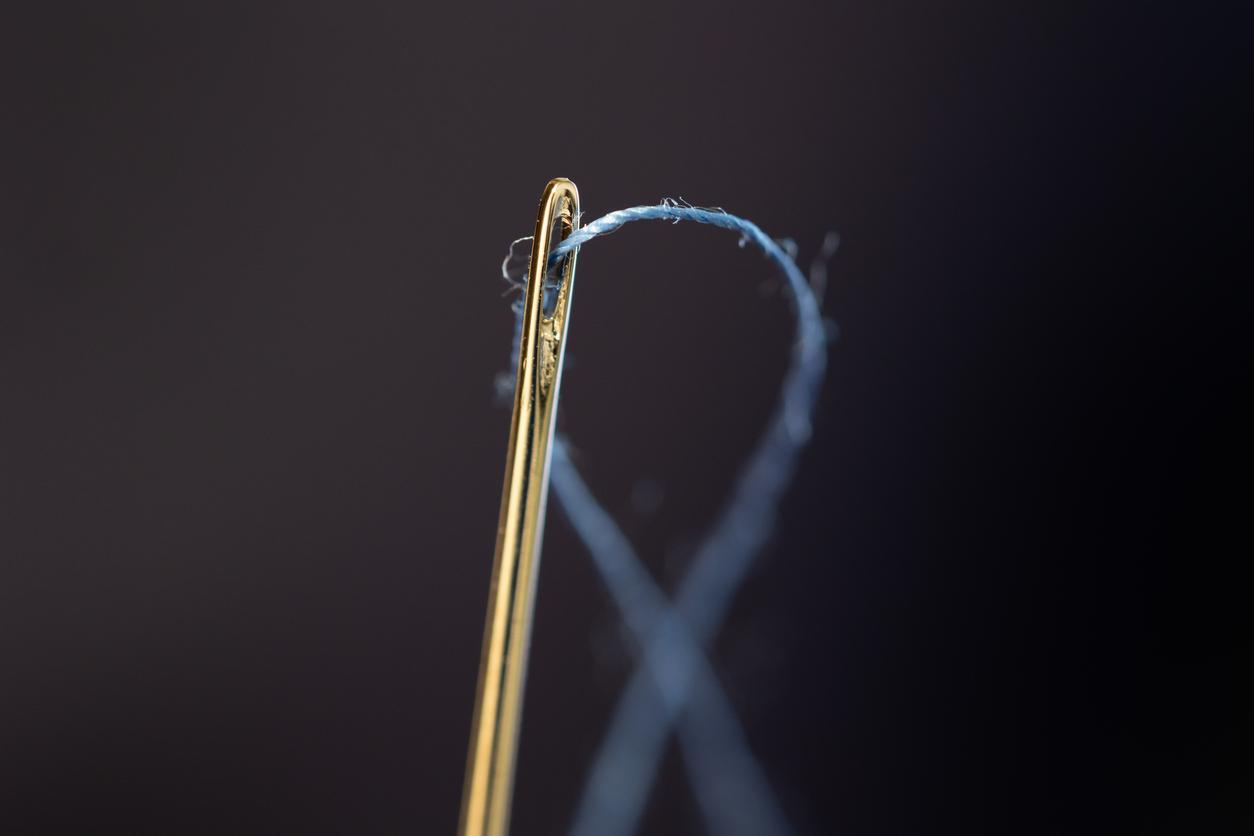
Once you’ve got your supplies, you can learn how to thread the needle. One way to thread a needle is by wetting the thread, according to A Beautiful Mess. To try this method, wet the end of the thread with water — this will help keep it stiff, which makes it easier to navigate through the eye of the needle. You also don’t need any extra tools for this!
Another common technique is to fold and pinch the thread. Take your thread and fold it over the tip of your needle, then pinch it — this should create a small loop. Press the eye of the needle to the loop and push it through.
If you want to utilize some helpful sewing tools, try a needle threader or self-threading needles. These are great options if you’re struggling with the other methods or just want to make the process as smooth and quick as possible.
Step 3: Knot the thread.
To knot the thread, you can wrap it around your finger, the needle, or use the granny knot, according to Blossoms and Posies. All of these are basic techniques and it’s best to choose whatever feels the most natural to you.
The wrap-around-your-finger knot begins with pinching the end of the thread between your thumb and index finger. Now, wrap the thread around your index finger three times, covering the end. Use your other hand to gently roll the looped thread off of your index finger, pinch it, and pull away from the needle.
You can try a similar method on a needle. Wrap the thread around your needle six times, pinch the loops, and pull them off to get a knot.
A granny knot is also very simple. Take the end of your thread and make a loose loop by folding it over the main section, creating a circle. Pull the tail end through the circle and tighten it to make a knot.
Step 4: Choose a beginner-friendly stitch to learn.
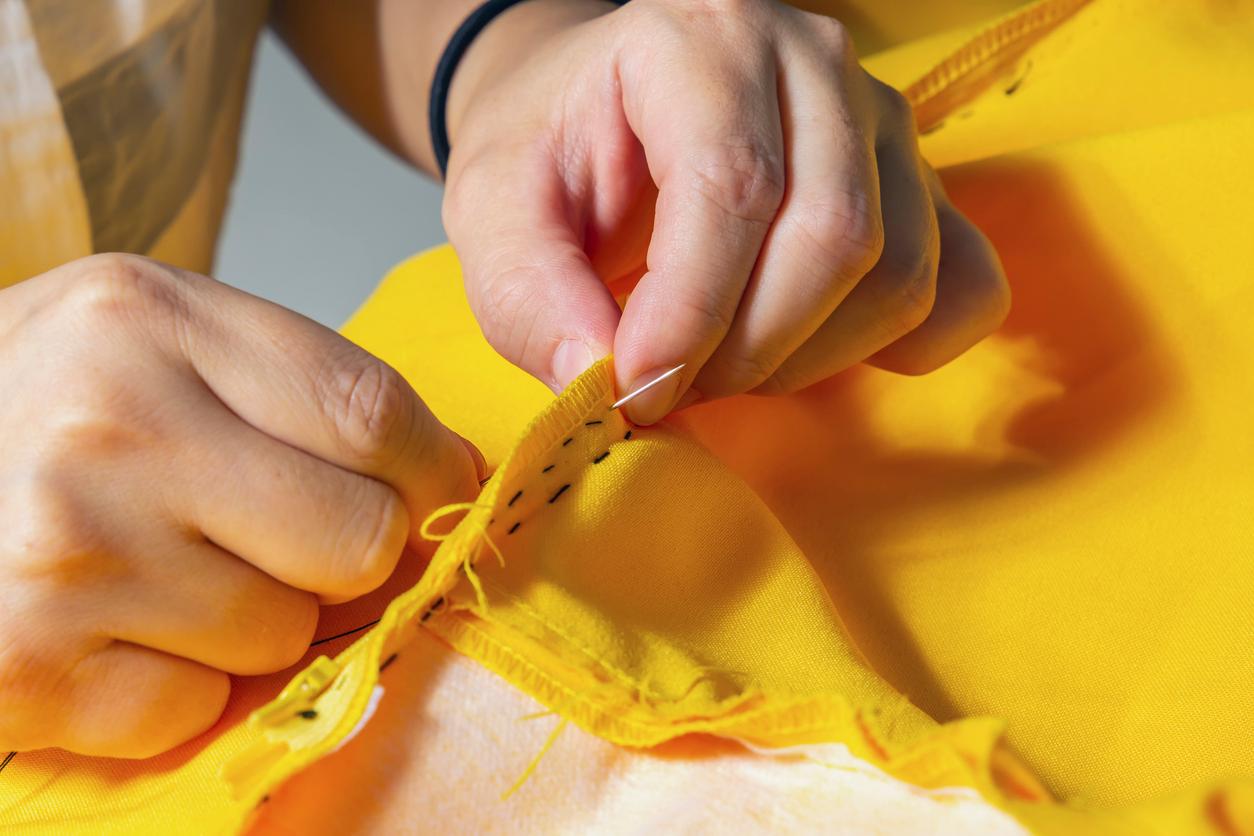
There are a lot of stitches to choose from, but it’s best to pick one that’s not too complicated. If you want to start with mending fabric, the backstitch is a good one to learn. This stitch is incredibly durable because it loops around both the back and front of the fabric, which secures it in place.
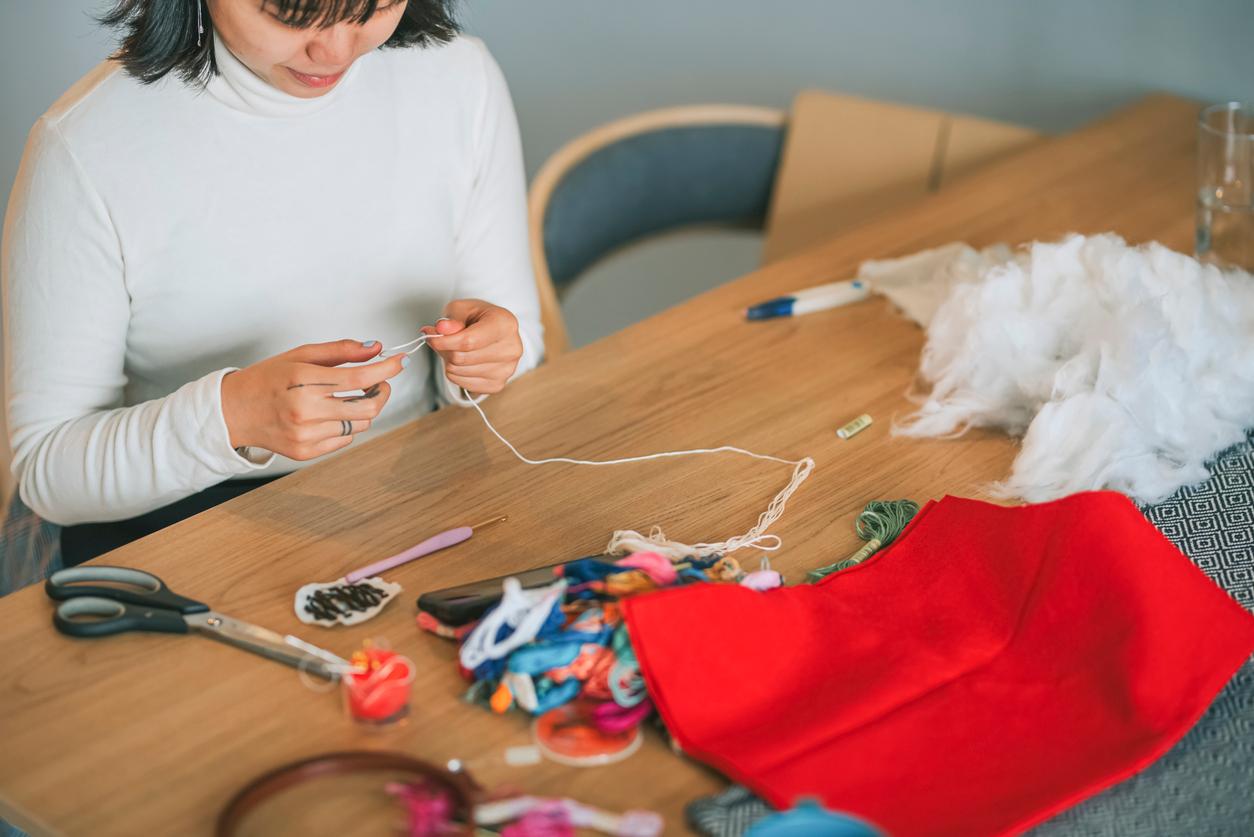
Step 5: Try a basic project.
After you’ve gained some confidence and understand the basics of hand sewing, you can try a beginner-friendly project. Mending and stitching clothes together is great, but so is trying something totally new.
Projects like coasters, mittens, soap savers, and keychains are all great for sewing newbies, according to Hello Sewing. These items are small, so you don’t have to worry about being overwhelmed or getting in over your head.