How To Choose A Rain Barrel For Your Backyard
Everything you need to know on pricing, sizing, and assembly.
Updated May 20 2019, 4:36 p.m. ET

Gardeners need all kinds of tools to keep their plants alive. Shears, shovels, hoses, and so much more. If you’re a gardener who’s passionate about conservation, there’s another accessory you should add to your collection: rain barrels.
Rain barrels reduce the water usage in your home by collecting stormwater that runs off the roof. That water can then be used to irrigate the flowers sprouting in your backyard, or even the ferns in your living room. But there are a few things you should know before you haul one home. Green Matters tested a couple models and researched water collection laws to bring you a beginner’s guide to rain barrels. Let’s start with assembly.
Putting it all together:
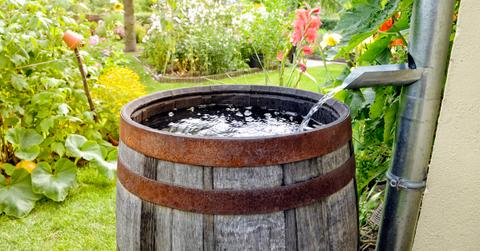
Rain barrels should be positioned under a downspout, aka the drain pipe attached to your gutters. Because rain barrels can stand three or four feet tall, you might need to modify your downspout so it actually drains into the barrel. You may have to cut the downspout, which requires a hacksaw. You may also need to outfit it with an extension or a rain diverter. These accessories can be found at any home improvement store, or specialty shops like Gardener’s Supply Company.

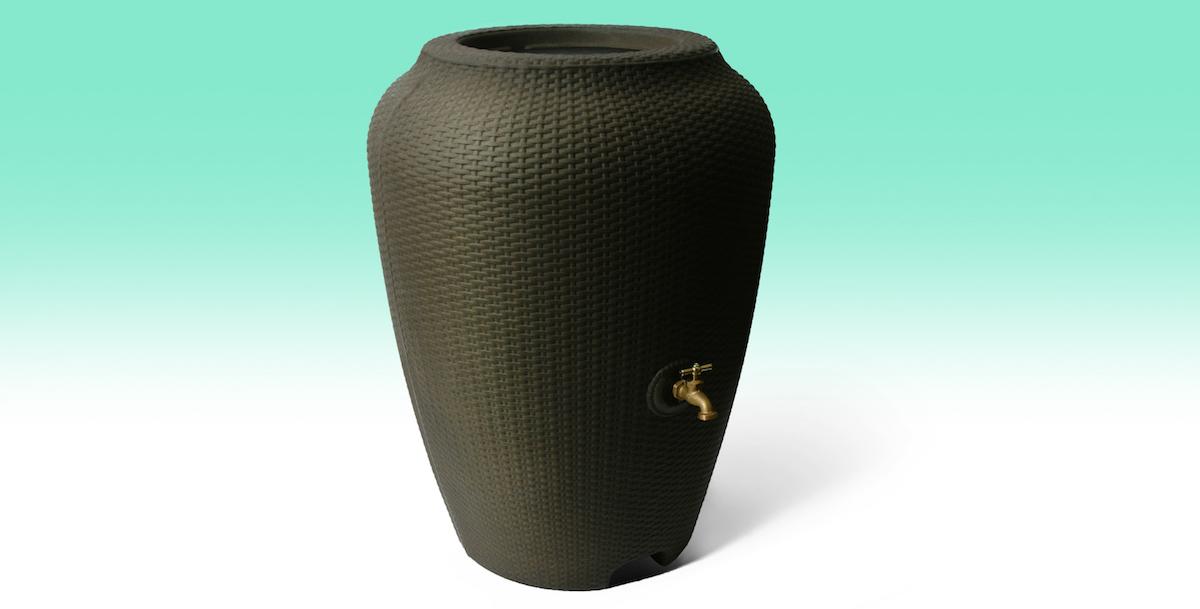
But most barrels require minimal assembly. Some take less than five minutes. The Algreen Wicker 50, for example, comes almost entirely ready for use. Screw a spigot into the front and a nozzle into the back and you’re pretty much set. But others come with hoses you attach at the bottom of the barrel and thread to a hook resting at the top. Read the instructions carefully, so you don’t wind up clamping a spigot or screen guard to the wrong spot.
Selecting the right size:
Rain barrels are bulky by nature, but they can vary wildly in size. Most start at around 50 gallons, scaling up to 90 or even 100. Bigger models will present less overflow issues than the smaller ones, but keep in mind how much room 100 gallons of water takes up. (It’s a lot!) Consider your irrigation needs — and any space constraints — before you commit to a size.
Shopping for style:
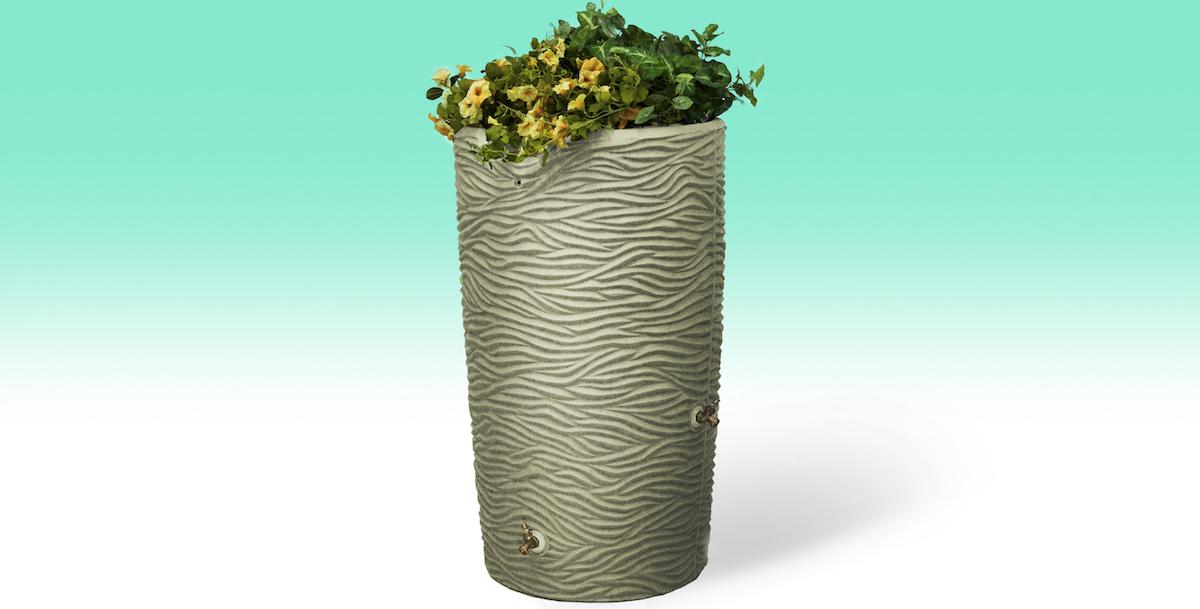
Contrary to popular belief, not all rain barrels look like, well, barrels. There are lots of stylish options on the market now, with designs that mime shapes found in nature. This includes the Good Ideas Impressions Palm Rain Saver, which has a wavy texture that emulates a palm tree trunk — or, depending on your perspective, the lines of the sand and sea. You can also grow flowers in the planter embedded at the top of the barrel, adding a colorful pop to the piece. Planters are actually a somewhat common feature in rain barrels, and some of them are completely removable.

Picking the right price:
Rain barrels do cost slightly more than a garden hose. A basic plastic drum can run you $60 or $70, while the nicer ones cost at least $100. But a good rain barrel is designed to endure years of sleet, snow, and thunderstorms — and considering how much water you’ll save, it’s often an investment worth making. Some cities and states even offer you money to maintain one. Check out this list to see if there’s a rebate program in your area.
A brief word on state laws:
Although plenty of states want you to use a rain barrel, some are less friendly. For example, Colorado’s strict regulations on rain barrels were only recently relaxed, and the law still limits residents to 110 gallons of stormwater. You’ll need to brush up on your local statutes before you purchase any barrels. Consult this interactive map of regulations to learn more.