Don't Spend Thousands — Here's the Best Way to Make a DIY Cold Plunge Chiller
Cold plunges are currently hot thanks to their potential health and wellness benefits.
Published June 24 2024, 2:45 p.m. ET

If you've been on TikTok before, chances are you've come across a cold plunging video. These are clips where people climb into tubs and tanks filled to the brim with cold water and ice, creating an impossibly chilly bath in which they hope to soak away everything from aches and pains to bad thoughts.
But buying everything you need to have a legit ice bath setup can get expensive, which is why some people are opting to DIY a cold plunge chiller instead. Dive in to learn more about how to make your chiller below.

What is a cold plunge chiller?
A cold plunge chiller is a complete ice bath system. It typically contains a sturdy tub that is strong enough to stand up to extreme temperature changes as well as sturdy enough to hold all of the water and ice needed to submerge an adult. They also come with filtration systems that help keep the water clean and a chiller to ensure that the temperature remains chilly enough to get all of those purported health benefits.
These devices can vary in price point, with some less expensive chillers costing just a few hundred dollars while the more expensive options can reach up into the thousands.

How to make a DIY cold plunge chiller:
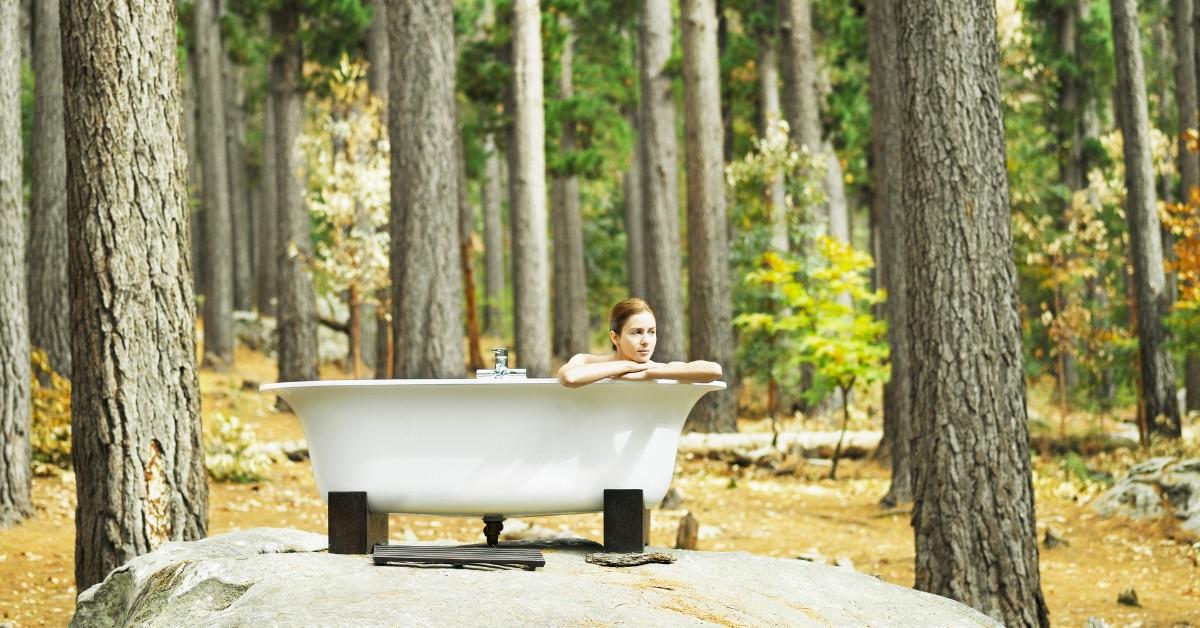
Of course, you don't have to fork over all your cold hard cash if you want to take an ice bath. Instead, you can make your own DIY version of the system. You'll need to find the perfect location to soak — according to the Plunge blog, you can use your bathtub for this part, but it's not ideal since you'll need to empty it after each use and it will struggle to maintain the correct temperature since it's not insulated — and you'll need something with a plug that can be drained.
Items like stock tanks and inflatable pools are also an option, just as long as you get one that's around two feet in depth and width and around five feet in length. Note: a lot of people on TikTok use old chest freezers for this purpose, but it's not recommended because of the risk of electrocution and the danger that the lid could close, trapping you inside.
Put whatever you're using on a flat surface that is easy to access and not near any exposed electrical hazards, like overhead wiring, but that is near enough to GFCI outlet that you can plug it in without having to use an extension cord. According to the Plunge blog, there are some other items you'll need besides your tub which include:

- Hand tools
- Ice
- Insulation supplies or debris cover
- Sealing supplies
- Filtration system for the water
- Drainage supplies (if your tub doesn't come with this already)
- Recirculation system
- Mats to keep from slipping
- Floating thermometer to check temperature
Once you have all of that, you'll get to work, installing the drainage system and then sealing any areas around it. After that you'll want to add your water filtration system by following the manufacturer's instructions and place your anti-slip mats.
Fill your tub with water and ice and then add your recirculation system (also according to the manufacturer's instructions). Once the tub is your desired temperature, you are good to go for a dip!
How to do a DIY cold plunge without a chiller:
If you're going to make an ice bath without the chiller, you can follow the steps above, adding extra ice to help offset the lack of a chiller. Just remember, unless this tub is outdoors in an area with low temperatures, this method will only work until the ice has melted, so you will need access to an ongoing supply of water and ice to make this method work.